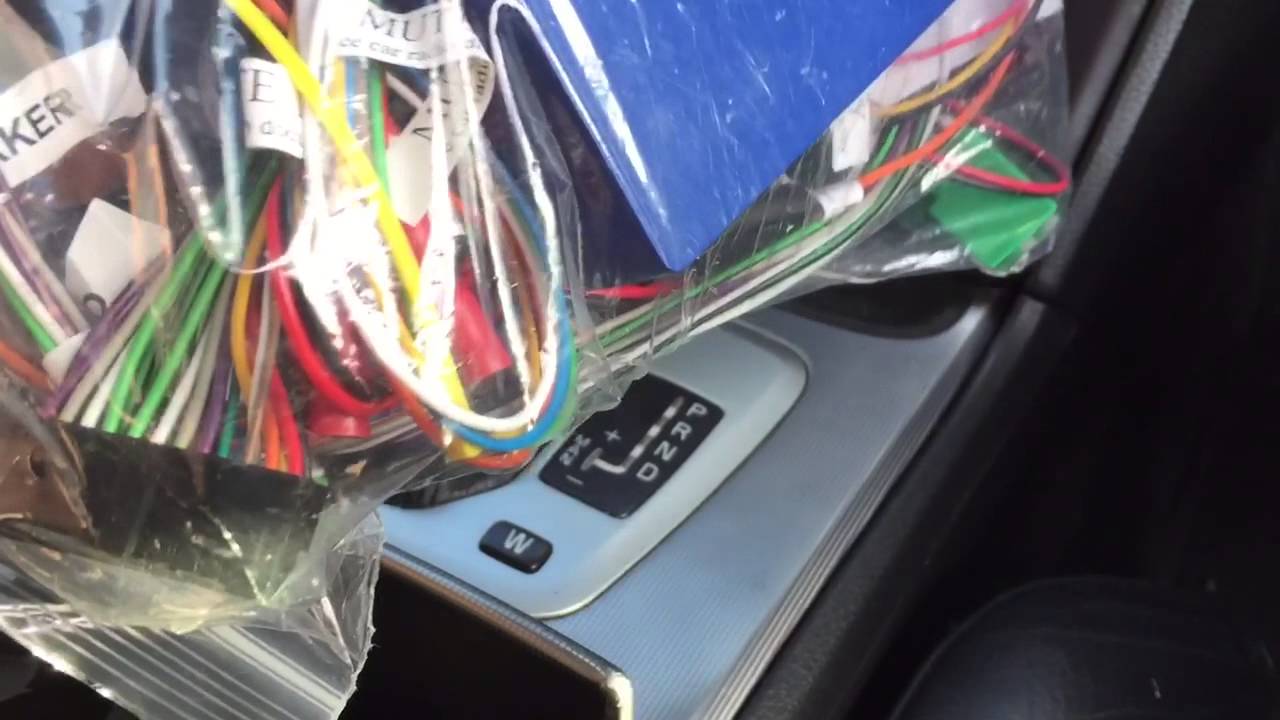
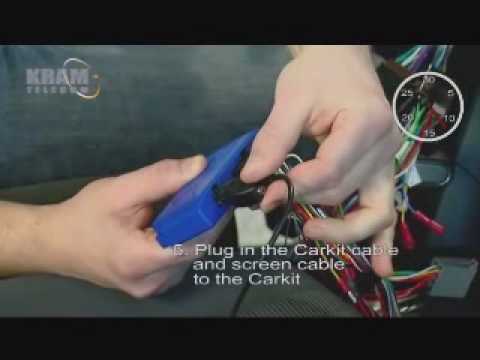
Refer to your car stereos wiring diagram. Checking the wiring in order to check the wiring connect the screen before placing it on the dashboard.
Parrot Ebox4r2 Bluetooth Car Kit With 433 Mhz Receiver User
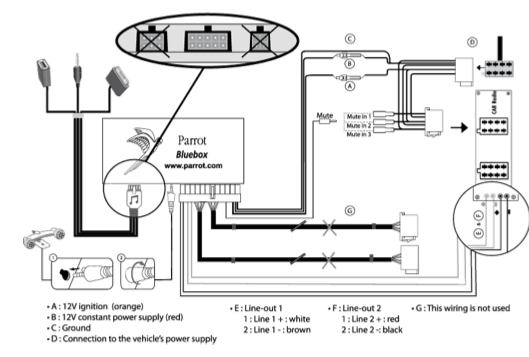
Parrot mki9100 wiring diagram. To perform the installation check turn the ignition on wait a few seconds then turn it off once the parrot mki9100 is installed. In order to check the wiring connect the screen before placing it on the dashboard. Installing the parrot mki9100 we advise our customers to have the parrot mki9100 fitted by a professional. Parrot mki9100 7user guide installing the kits power cable note. Parrot mki9100 quick start guide guide dutilisation rapide guía de instalación rápida bedienungsanleitung guida alluso gebruikershandleiding. The red wire of the kits cable must correspond to the constant 12v supply the orange wire to the.
More information can be found on the sup. The cables supplied with the kit feature iso connectors and two pairs of line out jacks. Join the vehicles audio and power supply cables to the female connectors of the parrot mki9100. This simplified guide to the parrot mki9100 is there fore limited to providing you with the main instructions that will make it easy for you to use the device. The red wire of the kits cable must correspond to the con stant 12v supply the orange. Refer to your car stereo s wiring diagram.
Car stereo with iso connectors 1. On the installation cable connect the free yellow wire to one of the audio systems. Remove the audio system from your vehicles dashboard to access the wiring harness. Refer to the checking the wiring section for more information. Before connecting the parrot mki9100 wiring loom. The message good bye must be displayed.
Connect the male connectors of the hands free kit to the car stereo.
Gallery of Parrot Mki9100 Wiring Diagram