Turntable headshell wiring diagram. Install the safety guard before installing the leads and always.
Cartridge Hum Any Suggestions Help Steve Hoffman Music Forums
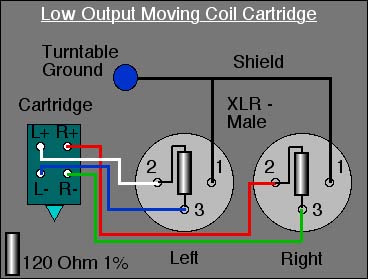
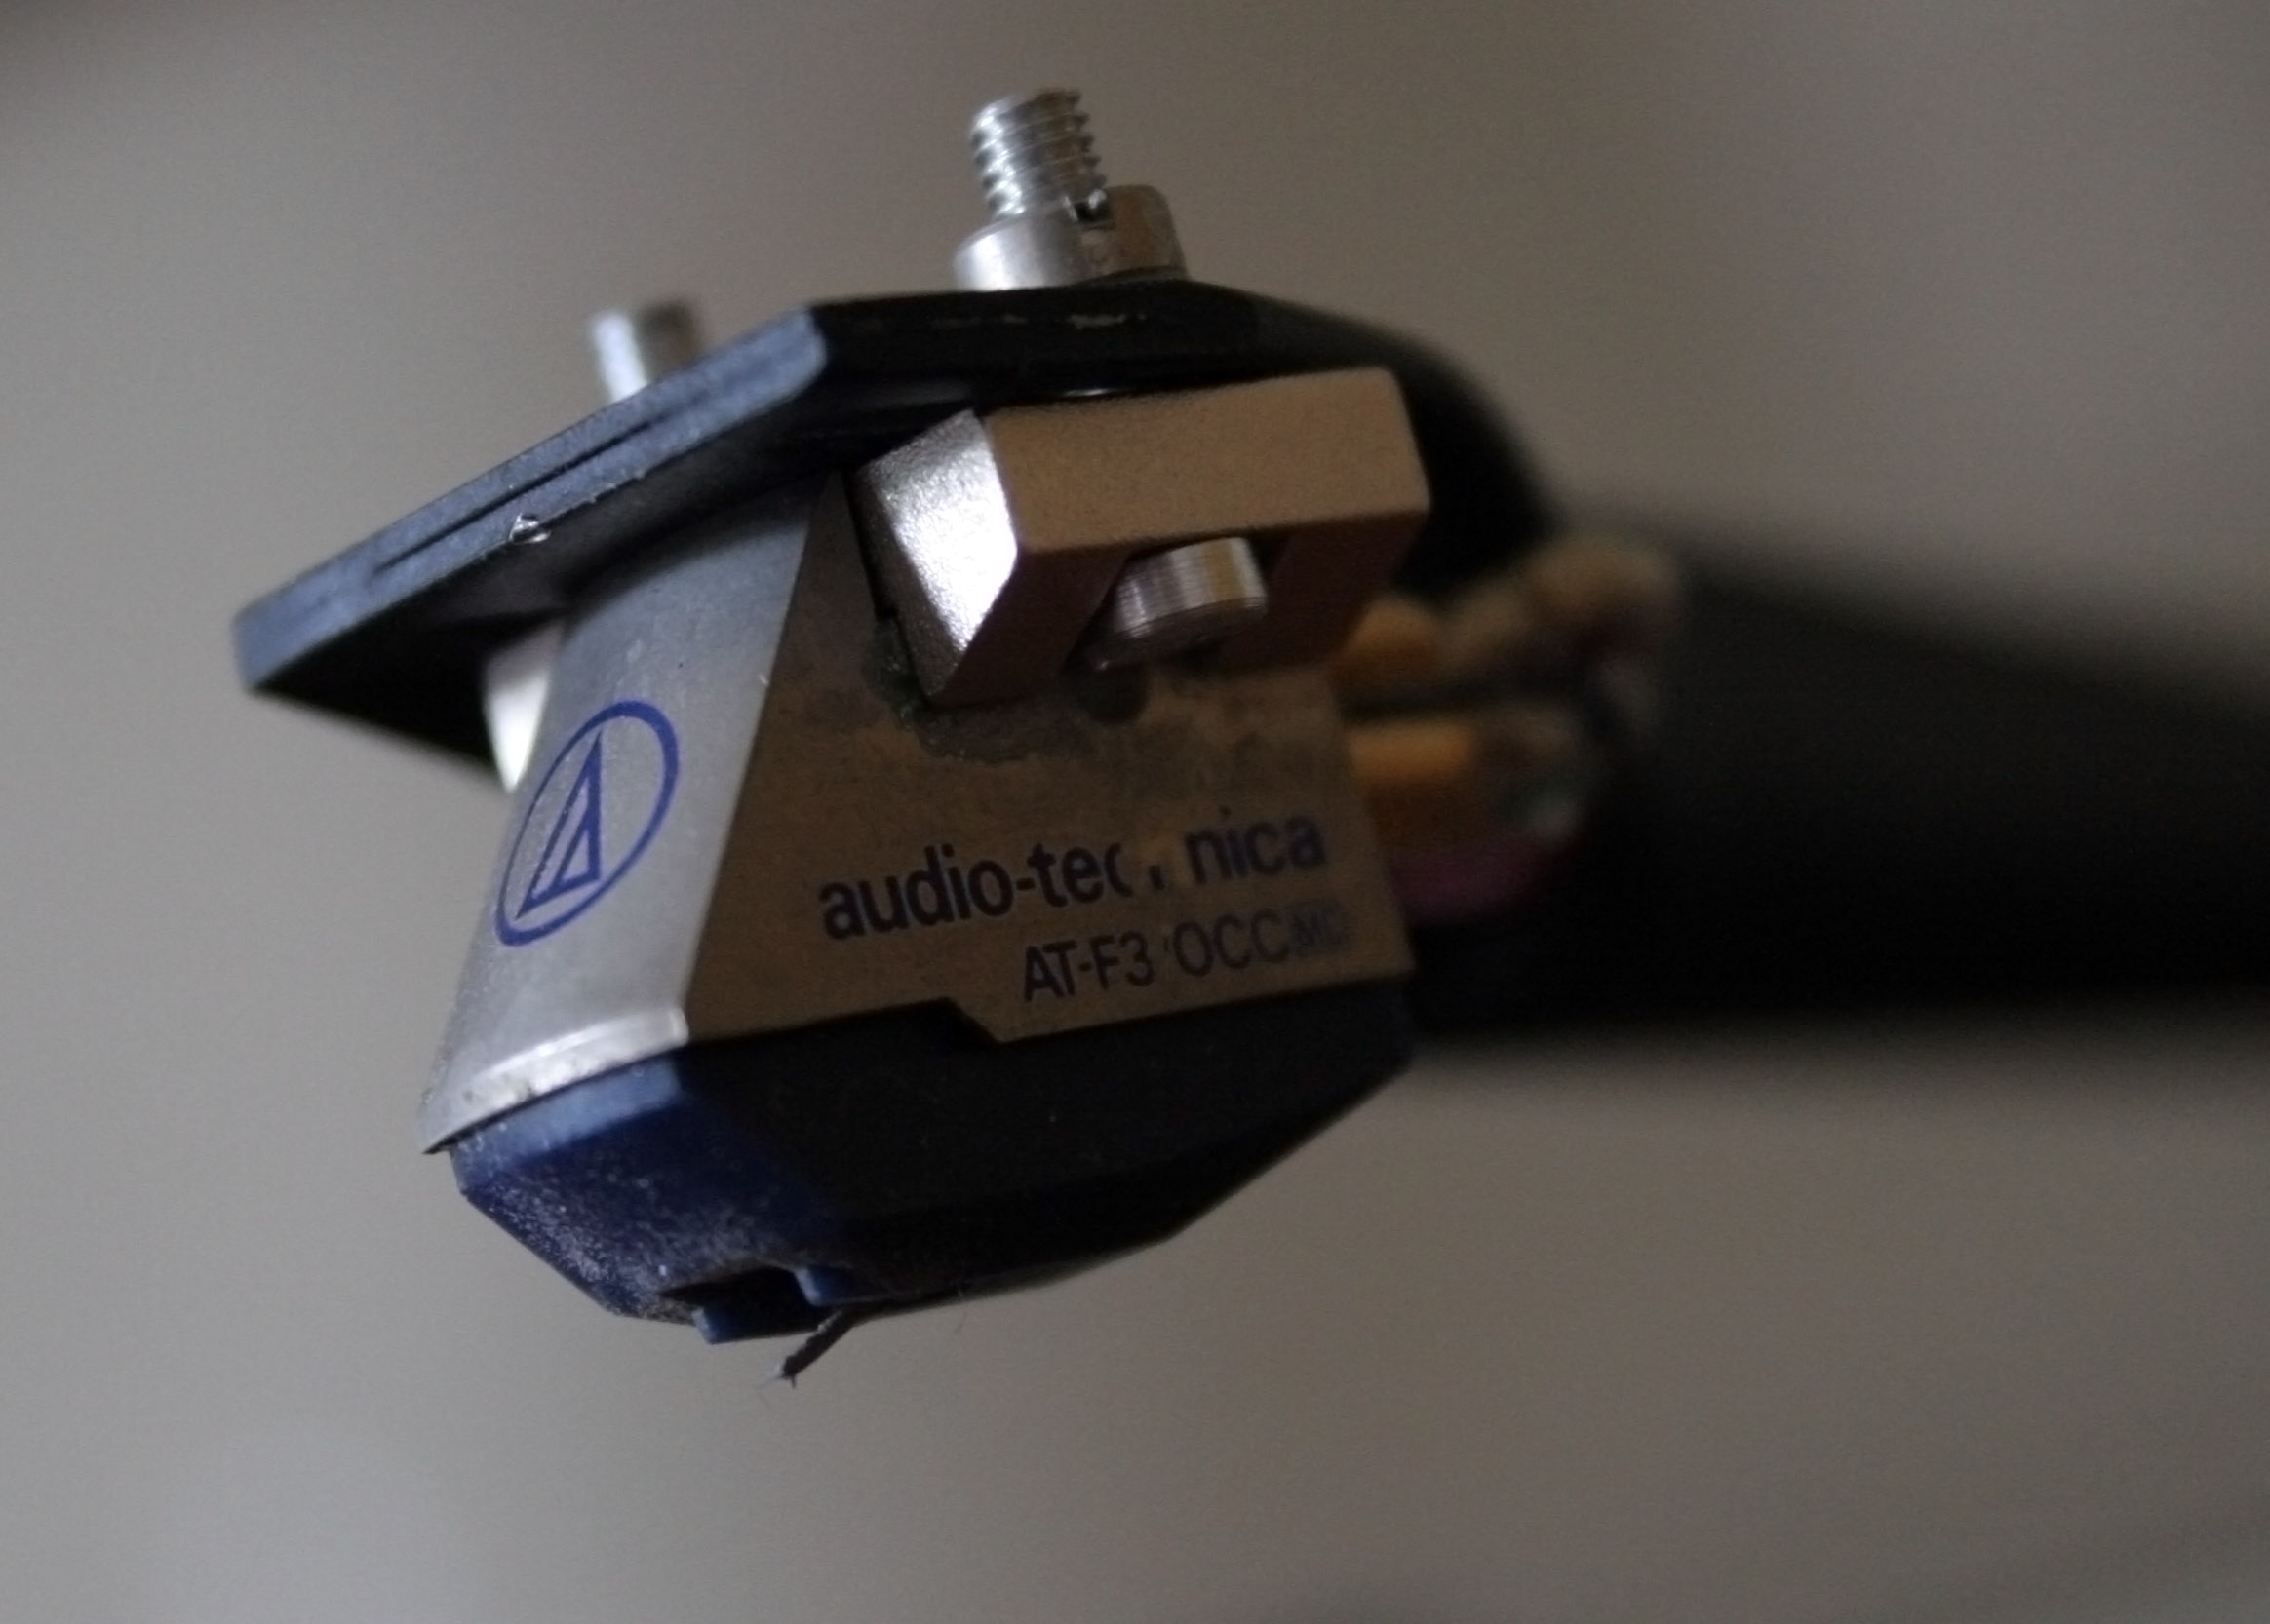
Turntable cartridge wiring diagram. On this turntable i found one cartridge wire that had a high resistance which fluctuated between around 20 to 40 ohms of resistance which would cause distortion noise or hum. Once the wiring is complete install the cartridge back onto the headshell and align the screws to the optimum position mark. Turntable cartridges dont last forever and gradually lose sensitivity so plan on eventual replacement. Audio technica cartridge wiring follows standard four pin sme type headshell wiring convention. Audio technica headshell and cartridge wiring audio technica cartridge wiring follows standard four pin sme type headshell wiring convention. Install the safety guard before installing the leads and always follow best practices stated in the manufacturer documentation.
When the cartridge pins are facing the headshell pins the pinout becomes mirror reversed. July 7th we are 100 open. Replace faulty turntable headshells and wiring to ensure clear crisp sound from your vinyl records. Maintaining a log of the hours played by the turntable can help determine when its time to replace the cartridge or stylus. This is how it appears at each end. Shop audiophile dual garrard pioneer sony more.
If using dc the easiest method is with a dpdt switch. In a case like this. Firstly if your cartridge was supplied with a cover that clips over the styluscantilever assembly keep it in place throughout this step and the wiring step described below it might just prevent you from shearing off the cantilever on your 2000 cartridge during an untimely lapse in concentration. Hopefully this video will help you if you are finding the same thing. Wiring a turntable is for all intents and purposes the same as a reverse loop. The left side pins on the cartridge connect to the right side pins on the headshell.
Ive changed many different turntable cartridges over the years and the at95e is the most difficult one i have come across. If dcc use any of the various auto reverse devices from the different manufactures. With many turntables some of these adjustments may not be necessary or possible the next step is to fit the four coloured wires to the pins on the.
Gallery of Turntable Cartridge Wiring Diagram