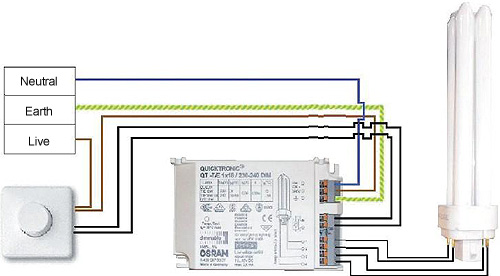
Mounting clipsal standard range products use the 30 series switch. Connect the dimmer in accordance with the wiring diagram shown on page 10.

Gw 4698 Wiring Diagram Also Light Switch Wiring Diagram On
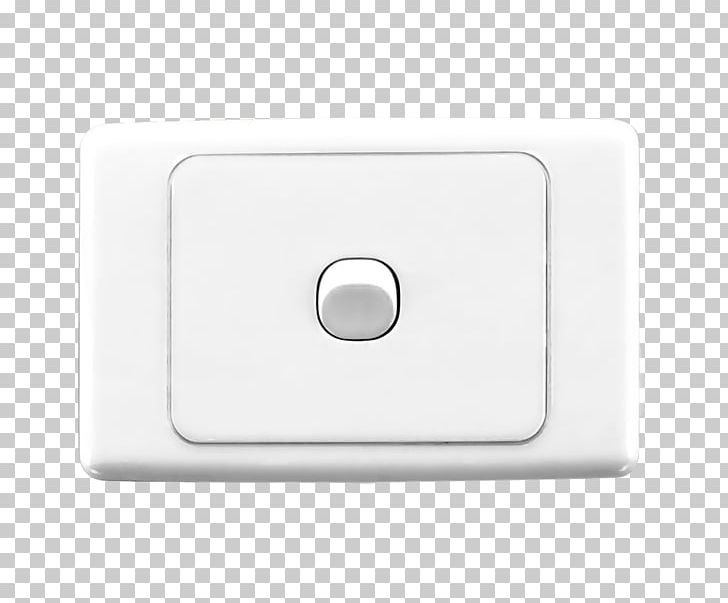
Clipsal dimmer switch wiring diagram. Light dimmer switches weatherproof. Turn switch on and check dimmer operation by turning control knob through full range. Electrical contractors or building companies are not bound to follow these prices and may charge more or less. The clipsal 31e2pudm series dimmer is a part of the c thru dimmer range. If the unit is wired for 2 way operation it can be switched on or off from either location but. 4 refit switch plate to wall and fit the dimmer knob to the shaft.
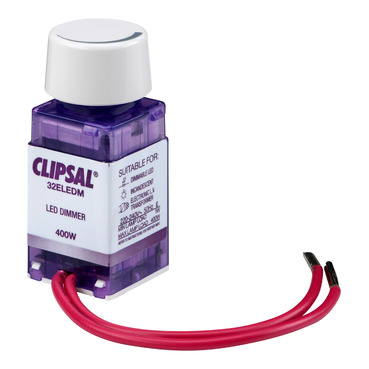
Refit switch connect the dimmer in accordance with the wiring diagrams. Connect the dimmer in accordance with the wiring diagrams shown over the page. 2 remove existing switch from wall. 6 turn the led dimmer on and check its operation by turning control knob through the full dimming range. The black line wire connects to the common terminal of the 3 way dimmer. Units feature multi way dimming and switching capability led indicator and the ability to be remotely controlled through controllink.
The iconic pushbutton universal dimmer combines a 2 wire switch and 300 w dimmer in a single pushbutton mechanism. Wiring diagrams the dimmer mech must always be connected to the line side of the clipsal led dimmer features short circuit protection designed to ensure the. Designed for universal load compatibility iconic pushbutton universal dimmer. A 3 wire nm connects the travelers of the dimmer to the travelers of the 3 way switch. 3 connect the dimmer in accordance with the wiring diagram. Incorporating a built in integral switch up to six dimmer mechanisms can be installed in a plate.
In the diagram below a 2 wire nm cable supplies power from the panel to the dimmer box. Residential smart wiring security and safety. Connect the dimmer in accordance with the wiring diagrams shown over the page. The source comes into the light the switch then is the last box on the circuit. Refit switch plate to wall and fit the dimmer knob to the shaft. But if youre replacing a three way switch with a three way dimmer label the common wire itll be labeled on the old switch when you remove the old switch so you can connect it to the common terminal on the dimmer.
This should give you a good basic understanding how the 2 way switch circuit works and will help you in adding or changing a 2 way switch. It doesnt matter if you reverse the two switch wires to a single pole dimmer. The clipsal 32e450ud series dimmer is a part of the c thru. 5 reconnect power place the megger information label near the circuit breaker. Diagrams coupled with some instructions to help you on your way to wiring a single switch. Refit switch plate to wall.
Refit switch plate to wall. Traveler wires are interchangeable on each switch. There are several ways of wiring a switch depending on your situation.
Gallery of Clipsal Dimmer Switch Wiring Diagram